
How to Build A Trellis
By Elizabeth
March 2020
One of my garden experiments for this year is Asparagus beans. These are pole beans, which require a trellis for support. I talked to people who grew these beans and got a good idea of what I needed. In GA, these can grow to 6 feet tall. That’s a good sized trellis. Looking online for that size trellis proved challenging. NO ONE had any that tall. So, I decided if I couldn’t buy what I needed I’d build it.

I chose an A frame design as I figured this would provide the most stability and support in my raised beds, which are 4’ x 4’.
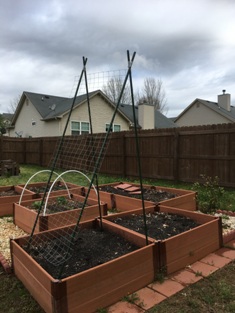
Step 1: Materials
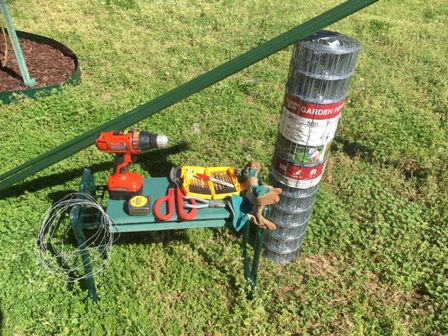
Before you purchase materials, it is important to know where the trellis will be placed. Measure the garden area where you are going to place your trellis. You don’t want a 6’ wide trellis if you garden bed is 4’ wide. My raised beds are 4’ x 4’ and 15’’ deep, so I looked for a fence that was between 3-4’ wide. You will need…
- 4 poles at least 8 feet tall. (You want at least 1 foot of pole buried in the ground for good support. I choose plastic covered metal poles as these should last many, many years.)
- Wire fence at least 3 feet tall. (My beds are 4 feet wide and this will allow for some beans to hang over the sides.)
- Bailing wire
- Tape measure
- Tin snips
- Wire cutter
- Needle nose pliers
- Work gloves
- Electric screw driver and bits (Fully charged. It took a lot of juice to drill through the plastic covered metal.)
- Sharpie
Step 2: Measure top cross hole
(intersection hole)
I recommend charging the screw driver the night before as it took a lot of juice to drill through the metal.
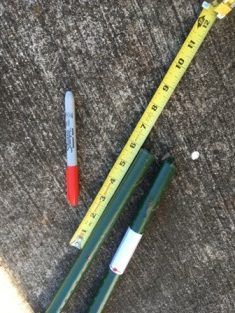
To figure out where to drill the hole at the top of the trellis, where the polls will meet, place poles all the way down to the base of the raised bed. The poles should be in the corners approximately 3 feet apart. Bring polls together and cross them. Mark with a sharpie on 1 pole where they meet. Remove poles from raised garden bed.
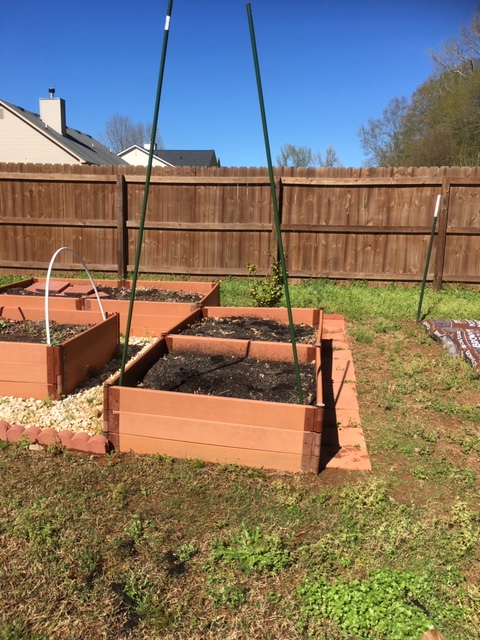
Step 3: Measure how far down the top cross hole is
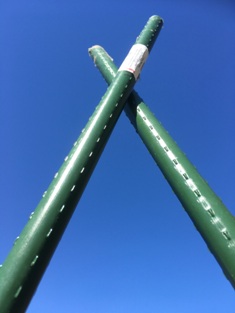
Step 4: Choose your bit size
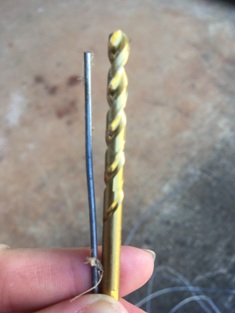
You want the hole to be a little bit bigger than the bailing wire but not TOO much bigger. Hold the bailing wire and a drill bit next to each other until you find the bit that is a little larger than the wire.
Step 5: Drill Top Cross Hole (intersection hole)
Take the fully charged electric screw driver and place on red line. Drill, making sure the forward arrow is pressed down. Once the bit has gone all the way through, change directions of the drill spin by pressing the back arrow button. Remove drill bit.
Double check to make sure bailing wire can go through the hole without a huge gap. Adjust drill bit size if needed.
Repeat until all four polls have the top cross hole (intersection hole) drilled.
Step 6: Mark where the holes on the poll will meet the wire fence
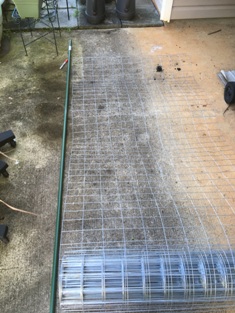
To have good stability for the trellis, leave at least 12’’ from the last hole to the bottom of the poll which will be buried into the soil.
Step 7: Measure length of fence
I found it easiest to turn the fence on its side and lay the poll on the fence.
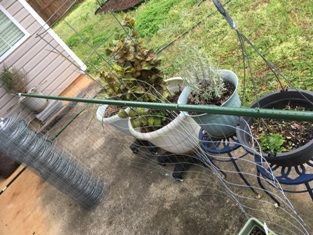
Line up the last marked hole (bottom hole) with the edge of the fence. Make sure the first marked hole lines up NOT the very edge of the fence, but one level down.
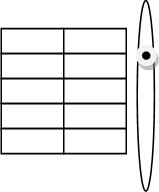
Step 8: Cut wire fence
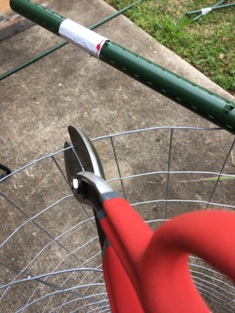
Step 9: Fold over edge pieces
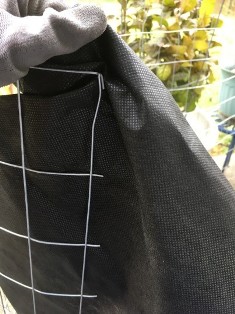
Step 10: Drill
Step 11: Wire together poles
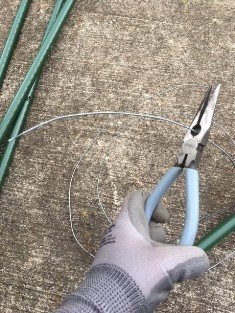
Again, the last thing you want when you are harvesting is to scrape yourself on sharp metal. Bend the sharp points of wire in on themselves.
Repeat with other 2 poles.
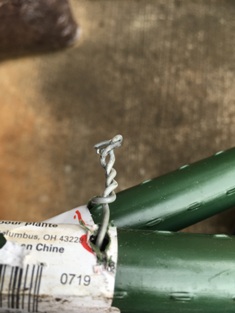
Step 12: Wire poles to fence
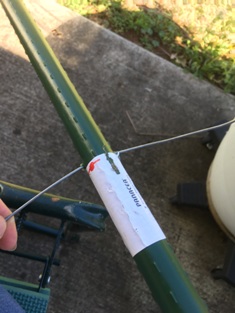
You may want gloves for this step. Using wire cutters, cut approximately 3-4’’ of bailing wire. Place the poll with many holes over fence. You want a little fence on what will be the outside of the frame. The pole should NOT be flush with the fence. This will allow for any overhang from the beans and allow for a stronger and more stable connection.
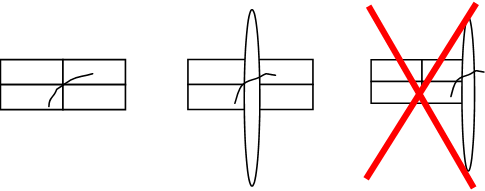
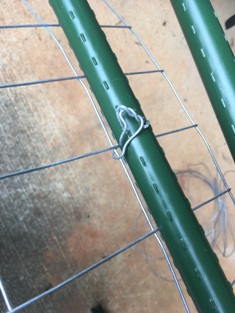
Use needle nose pliers to twist the bailing wire together. It doesn’t have to look pretty; it just needs to be tight.
Again, the last thing you want when you are harvesting is to scrape yourself on sharp metal. Bend the sharp points of wire in on themselves to keep any sharp bits away from you.
Repeat until done.
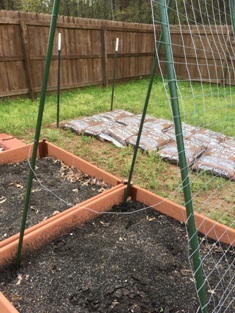
Step 13: Place in the Garden

Step 14: Side hole stabilizers
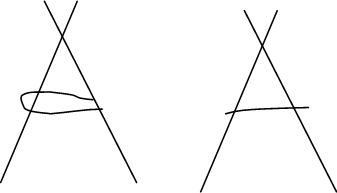
You can use one really long piece of wire and loop it through, tighten, then twist the ends together to secure it. Or one shorter piece of wire and twist together each end to the 2 poles.
Remember to bend any sharp bits in on themselves so you won’t get cut when harvesting.
By following these steps, you will have a great trellis that can be reused year after year!