
Preserving the Harvest Through Freezing
by Elizabeth
August 5, 2020
It’s so tempting to eat all that wonderful, fresh produce from the garden. But, by preserving the harvest you can enjoy the flavors of summer all year-round and save some money on your grocery bill!
I like to dry, freeze and can my produce. There are just a few EASY steps you need to do to keep you and your family SAFE. I’ll walk you through the process for each vegetable I preserve.
Blanching is Important
For nearly any vegetable you want to freeze, blanching is essential. Many vegetables grow in or come in contact with DIRT. Bacteria lives in dirt. While this is good and necessary for healthy soil, you don’t want to ingest this bacteria, as it can cause life-threatening illness.
From Garden To Table
You may ask, “Since there is bacteria in the dirt, is it safe to cook what I harvested in the morning for supper tonight? Answer: Yes, the normal cooking process kills bacteria.
However, when you are preserving fresh vegetables, since they don’t go through a cooking process, blanching is essential to kill the bacteria, which can grow even in freezing temperatures.
How Long do I Blanch?
It depends on what you are doing and the type of vegetable. For more specific times check out the Food Preservation page.
Disclaimer
For my purposes, I’m not trying to cook my produce, I just want to kill the bacteria before freezing it. I use shorter blanching times than what is given on the Food Preservation page because I don’t want my vegetables to get mushy. If you do not feel safe using the blanching times I use, please follow the guidelines on the Food Preservation Page.

Green Beans
Step 1: Bring a large pan of water to a rolling boil. Prepare an ice bath by filling a large bowl halfway with ice and cold water.
Step 2: Wash beans under cold water. Remove any debris (leaves, grass clippings, dirt etc).
Step 3: Snap or cut off stem side. (You can also cut the beans into bite size pieces if you wish. If you are freezing yard long beans, aka asparagus beans, you will definitely want to cut the beans into smaller pieces.)
Step 4: Once water has come to a rolling boil, place beans in water. Blanch for 30 seconds. (I use this shorter time so the beans will still have a little crispiness after I pull them out of the freezer to cook.)
Step 5: Remove from water and place in an ice bath to stop the cooking process. Beans should be bright green. (Or a brighter color of whatever color they are.)
Step 6: Place a paper towel on a cookie sheet. Drain beans on the paper town and let them dry. (You want the beans dry to prevent ice crystals from forming.)
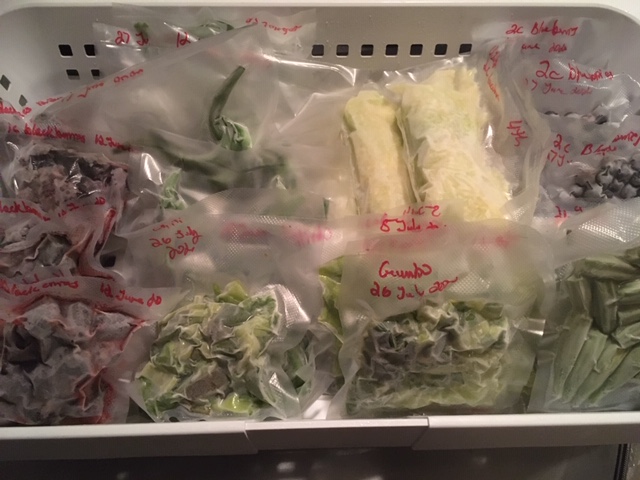
Step 7: Once beans are dry, pre-portion into servings and place in Ziploc bags or vacuum seal bags and seal bags. This is an easy trick to remove most of the air from Ziploc bags.
Step 8: Label bag with date and year. It can be helpful to have the vegetable name on it too. Place in freezer.
Berries
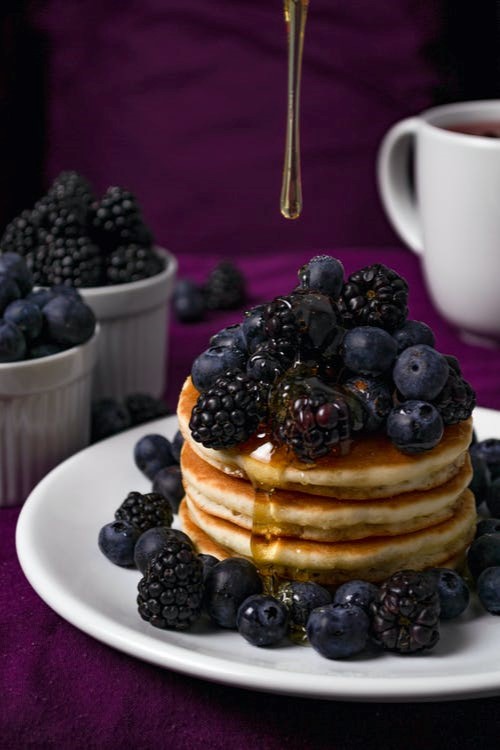
I always have a good harvest from my blackberry bushes. I usually end up having to come up with new ways of using them. I always make blackberry jelly, cobbler and I’ve recently discovered blackberry syrup. It is the best on pancakes or as flavorings in tea and lemon-aid!
I also go blueberry picking, because fresh blueberries make the BEST blueberry pie!
No matter what kind of berry you have, these steps work for all of them.
Step 1: Wash berries under cold water, removing any debris. I feel like this is an important step, even though some people don’t recommend washing. The only reason I can figure for ‘no washing’–since no one can give me a reason, is to prevent ice build up. But, if you do step 2, you’ll be just fine.
Step 2: Place a paper towel on a cookie sheet and let berries fully dry to prevent any ice build up.
Step 3: Pre-measure for any recipes and place in Ziploc or vacuum seal bags. See “Beans” for how to remove air from Ziploc bags.
Step 4: Label with type of berry, date, and amount of berries in bags. Place in freezer.
Black-Eyed Peas (Cowpeas)
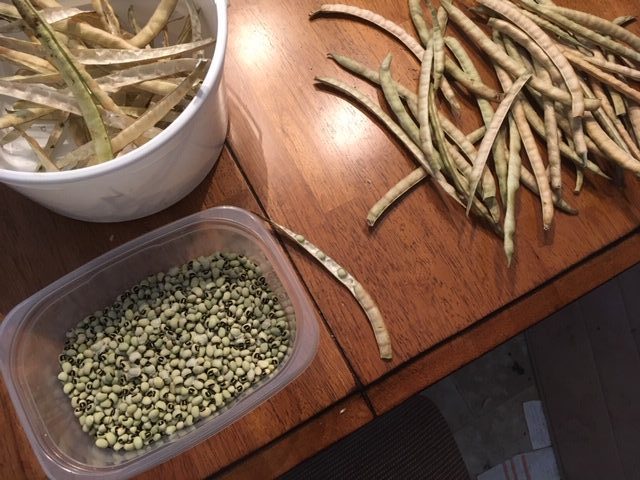
These are fun to do. They are ridiculously easy. There is something relaxing to me about shelling beans/peas. I sit down at the kitchen table, watch the birds in the yard and listen to a great book! I would enjoy a nice cup of tea while shelling, but I had a pea plop in my cup once!! From then on I decided that wasn’t the best idea.
Cowpeas are one vegetable you don’t want to blanch–IF you are storing dry beans. They grow high up off the ground and they are protected by their pod.
IF you are storing GREEN black-eyed peas (peas which have matured on the plant, but aren’t dry yet) you should still be safe not blanching as they are protected in a pod. Just pre-portion servings you desire and place peas in Ziploc bag or vacuum seal bag and mark with date. Place in freezer. See “Beans” for how to remove air from Ziploc bags.
Okra
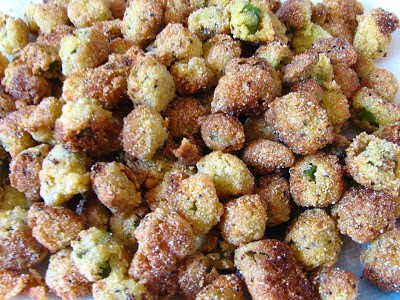
Okra is another vegetable I don’t blanch. It grows high up on the plant, so I consider it safe. But, if you don’t agree, please do what makes you feel safe.
Step 1: Pre-portion out okra into servings. Wash under cold water.
Step 2: Cut tops of okra. You can leave okra whole or cut into smaller pieces.
Step 3: Dry on paper towels, keeping the okra in their pre-portioned groups. It is important to let the okra dry completely so no ice crystals will form.
Step 4: Place pre-portioned okra into Ziploc bags or vacuum seal bags. You can choose to do family bags or individual servings. Label bags with date and year. Place in freezer. See “Beans” for how to remove air from Ziploc bags.
Peppers
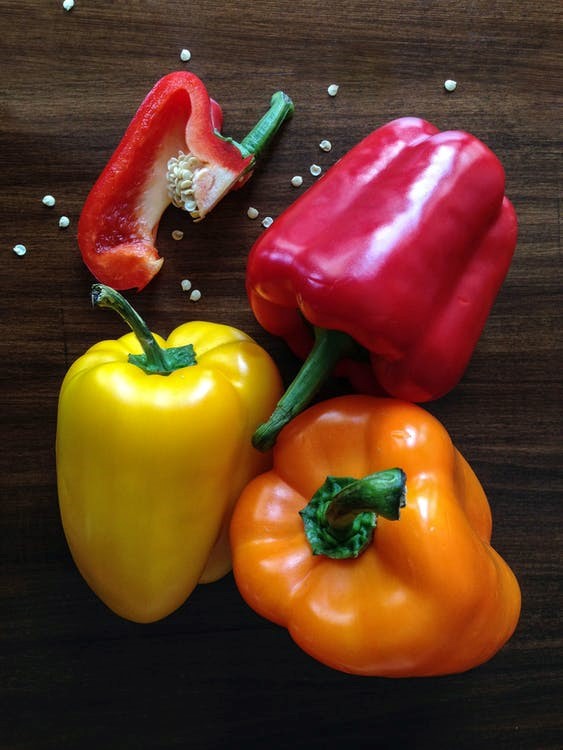
I do several different things with peppers depending on how I want to use them. It is so much easier for me get all the prep work done before freezing. Some examples: I cut peppers into larger pieces for chili, smaller pieces for gumbo, and a fine dice for cornbread.
This may seem like a lot of work, but it saves so much time when I’m ready to use them. I can just get them from the freezer and dump them in soups or cornbread or whatever. The work is already done!
Peppers are another vegetable I don’t blanch.
Step 1: Wash under cold water.
Step 2: Cut tops off. Cut in half and remove seeds and ribs.
Step 3: Cut into the size you want.
Step 4: Pre-portion and place into Ziploc or vacuum seal bags and date bags. I also mark on the bags how they are to be used. Example: for chili, for gumbo, for cornbread, etc. Place in freezer.
I’ve not had any ice crystal problems with my peppers, but you could always dry them on paper towels before freezing if you have that problem. See “Beans” for how to remove air from Ziploc bags.
Potatoes
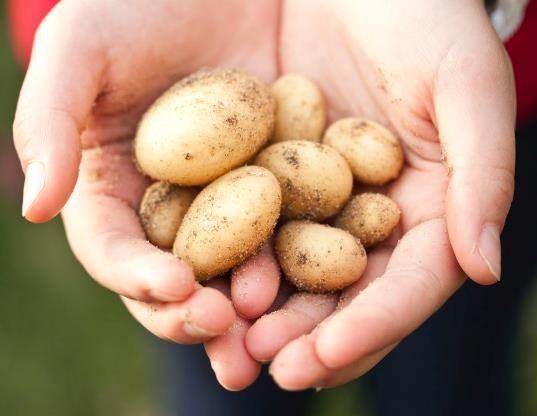
Potatoes are another vegetable I do the prep work before I freeze. It just saves me so much time at supper time. When you’re tired after a long day at work, it’s nice to be able to pull a bag out of the freezer and dump it right into a pan. No other work required!
Potatoes are one of those vegetables that grow in the dirt where the bacteria lives. It’s very important to follow safety procedures with potatoes as bacteria will grow even in freezing temperatures.
Step 1: Bring a large pan with water to a full boil. Fill a large bowl halfway with cold water. Prepare a second large bowl by filling it halfway with ice and cold water for an ice bath.
Step 2: Brush any loose dirt of the potatoes. Wash and scrub with a wash cloth or vegetable brush to remove any remaining dirt.
Step 3: Remove any bad spots. I like to leave the skin on my potatoes, but you can remove it if you want.
Step 4: Cut into desired size. I do a couple things with my potatoes. I’ll dice them into small pieces for hash browns and I’ll cut them into French fries. Place raw cut pieces in the bowl with ONLY cold water to prevent browning.
NOTE: The freezing process will change the texture of potatoes, but I haven’t noticed any difference when doing hash browns and French fries.
Step 5: Once water has come to a rolling boil, remove potatoes from cold water bowl and place potatoes in pan. Blanch for 30 seconds to 1 minute. (If you have larger pieces you may want to cook the potatoes until they are halfway cooked.)
Step 6: Remove potatoes and place in the ice bath bowl to stop the cooking process.
Step 7: Place potatoes on a cookie sheet to dry a bit. You do NOT want a paper towel on the cookie sheet as the potatoes will stick to it. That kind of fiber doesn’t taste nice!
Step 8: Once potatoes are dry enough and before they brown, place pre-portioned potatoes into Ziploc bags or vacuum seal bags. Again, you can do family sized bags or individual bags. Label with date. Place in freezer. See “Beans” for how to remove air from Ziploc bags.

Tomatoes
Yes, you can freeze tomatoes! There is a little trick to it, but it’s easy. As we know from canning, store bought tomatoes just don’t taste the same.
But, come soup season, tomato season is over. I love to have some cut tomatoes to add to chili and other soups. This is how I freeze fresh tomatoes to use in the winter.
Step 1: Bring a large pot of water to a full boil. Fill a large bowl halfway with ice and cold water. Get a large cookie sheet. One with a lip is helpful.
Step 2: Gather the amount of ripe tomatoes you want to freeze and wash under cold water.
Step 3: Cut off the tops and any bad spots.
Step 4: Once water has come to a rolling boil, place tomatoes in boiling water. Blanch for 30-40 seconds.
Step 5: Remove from pan and place them in a ice bath to stop the cooking process.
Step 6: Place tomatoes on cookie sheet. Once they are cool enough to handle, remove skins. The skins should just slide off.
Step 7: Cut tomatoes into large pieces. (I find after the freezing process, the pieces are quite a bit smaller than the original size.) Pre-portion out tomatoes and place in Ziploc or vacuum seal bags. You might need to wipe edges of bags inside and out with a paper towel to get a good seal the the vacuum sealer.
Step 8 TIP: Since the tomatoes are full of juice, vacuum sealing can be a bit of a challenge. The trick I use is to vacuum just until it starts sucking the juice out THEN quickly press the seal button. I like to do a double seal on these, just to make sure there is a good seal.
Label bags with date. Place in freezer. See “Beans” for how to remove air from Ziploc bags.
Zucchini
Zucchini is also one you don’t need to blanch. Beware, freezing will also change the texture of the zucchini, so the only zuchs I freeze get turned into zucchini bread.
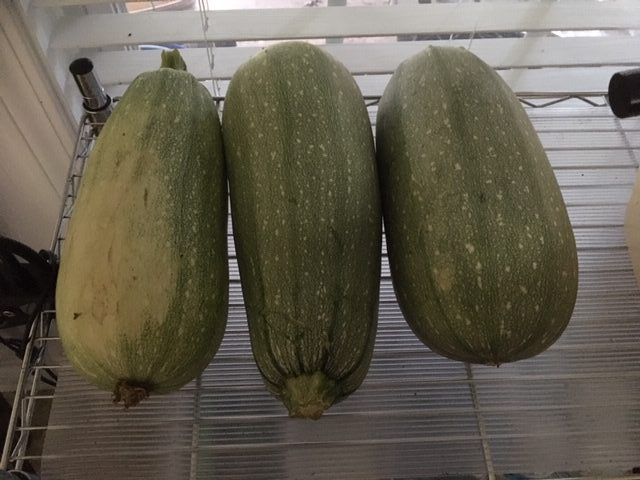
Zucchini is one of those vegetables which can get away from you in the garden. We know harvesting small provides the best tasting zuchs, but there are always those few who somehow hide and turn into monster squash! These are the perfect ones to turn into zucchini bread!
The recipe I use calls for 2 cups of shredded zucchini. I will pre-measure and fill bags with enough zucchini for one batch of bread. It is no fun having to wait for a bag of zucchini to thaw so you can measure for a recipe.
Step 1: Peal zucchini and cut end off.
Step 2: Using a food processor or cheese grater, shred the zucchini.
Step 3: Once you have 2 cups, fill Ziploc or vacuum seal bags the the pre-measured zucchini. You might need to wipe edges of bags inside and out with a paper towel to get a good seal the the vacuum sealer. Date and label with 2 cups. Place in freezer.
See “Beans” for how to remove air from Ziploc bags.
See “Tomatoes” for how seal a bag with lots of moisture.