Starting Seeds Indoors
by Elizabeth
2020
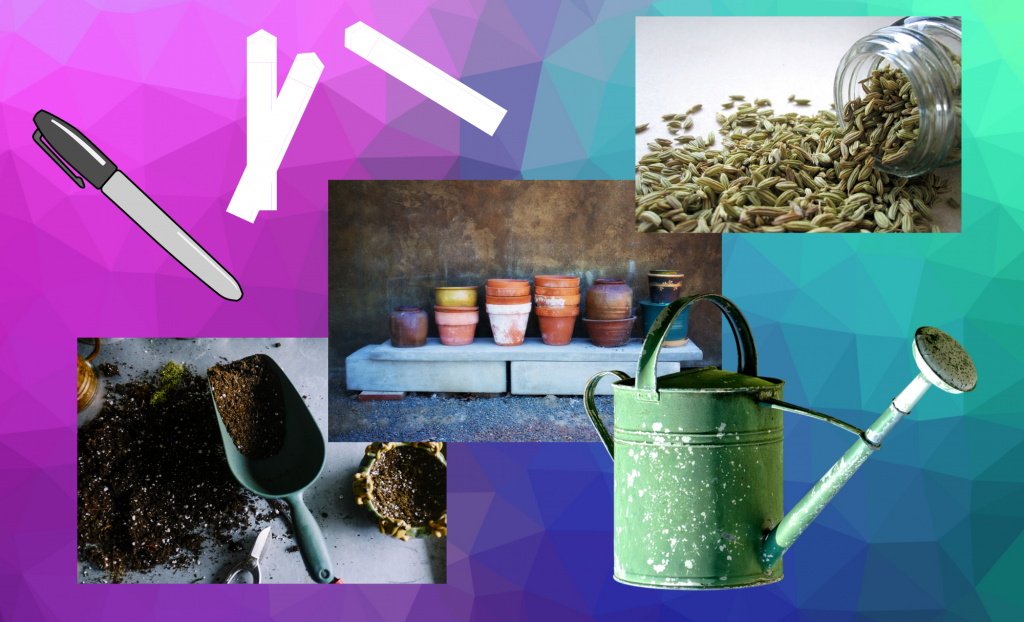
Materials
• Peat Moss Pots
Downside, can’t be reused
• Plastic Seed Cells
Upside, can be reused for years
• Trays to put cells and pots in
Can be reused for years
• Seed Starting Mix/Coco Coir
• Water
• Seeds
• Labels and Pen
Seed starting mix verse potting soil
Seed starting mix/Coco Coir is sterile. Seedlings are very susceptible to fungus and mold and can dampen off. This dampening off will kill or weaken seedlings. Potting soil is not sterile and can cause dampening off.
For starting seeds. It is best to use a seed starting mix to give your seedlings the best chance to be strong, vibrant plants.
Choosing the Right Pot/Cell Size
The size of pots and cells you choose will depend on many factors.
- The space you have.
- How much you want to grow.
- The type of plant.
- How much repotting you want to do. The smaller the cell, the more repotting into larger containers you will have to do before transplanting.
- For any container you choose, just make sure they are clean and there are holes in the bottom for the water to wick up. (More will be said about this below.)
Lighting
There are various types of lighting options.
- Fluorescent lights are an effective supplement to natural (window) light. Traditional fluorescent bulbs are tube-shaped and fit into specialized fixtures; Compact Fluorescent Lights (CFLs) are corkscrew-shaped and feature the same screw-in base that incandescent bulbs do, which allows them to fit into most household fixtures. Fluorescent lights put off minimal heat and a good amount of light, but are not as efficient or long-lasting as LEDs. Just know, these are being phased out and are increasingly difficult to find.
- High-Intensity Discharge (HID) lights are ideal for growing maturing edible plants. However, HIDs are expensive, use electricity inefficiently, and give off quite a bit of heat. Despite this, they are widely used in plant nurseries and large-scale grow houses because of their raw power.
- Light-Emitting Diode (LED) lights: For efficiently growing large numbers of plants, LEDs provide the best results. They use significantly less power to produce more light than traditional CFLs, and they produce very little heat. Although LEDs have traditionally been more expensive than fluorescent bulbs, the lifetime of an LED bulb is far longer and their up-front cost has begun to drop in recent years.
- Regardless of which kind of light you go with, you want a bulb which has a range of 2000-3000 Lumens (2900 is great) and a range of 5000-6500 Kelvin. This will simulate daylight, which is what you want for seedlings.
Before you Purchase

- Decide how many plants you want to illuminate and how much area they will occupy under the light(s). This will enable you to calculate how many bulbs you’ll need.
- Figure out what sort of plants you wish to grow. Edible plants that are grown purely for their leaves—such as salad greens and herbs—can be grown under bulbs that primarily emit blue light, as this encourages chlorophyll production and foliar growth. Plants that are grown for their fruit or flowers require the addition of red light, which encourages blooming. For the healthiest plants, use a combination of both blue and red lights—or a full-spectrum bulb, which emits both wavelengths of light.
- Think about how to position the light(s) over the plants so that you can easily alter the distance between the lights and the plants as they grow. Common options include suspending the lights from chains above your plants (e.g., on the ceiling or a sawhorse) and adjusting the chains as the plants grow. Or, stabilizing the light(s) and setting the planters on a stack of books, removing volumes as needed to lower the maturing plants.
- Remember, too, that each type of grow light provides a different amount of light. To be most effective, each light should be a specific distance from the plants: Fluorescent lights should be 3 to 12 inches above the tops of the plants; HIDs, 24 to 60 inches; and LEDs, 12 to 24 inches. (Benjamin Kilbride, “Best Grow Lights for Growing Vegetables” The Old Farmers Almanac. Sep 29, 2019. Web. Dec 5, 2019.)
- You do want the light to be close to the plant to prevent it from becoming leggy. One reason this happens is when the plants are reaching for the light. Leggy plants are more spindly and weaker.
- Also check your plants frequently. Burning can happen quickly when the lights are to intense and too close. Adjust the height of your lights away from your plants, if you see burning.
Plants grown under lights indoors need more hours of light than the same plants do outdoors. How many hours of light are given depends on the type of plant (full sun/shade) and the distance from the plants. A shade plant will tolerate a shorter time at a close distance or a long time at a relatively long distance. It’s trial and error to get it right. It’s not easy.
Keep in mind even indoor plants need a minimum of 6 hours of darkness each day.
Preparation
Pre-moisten your starting mix. If you don’t, it will float until it absorbs the water and won’t be packed well enough to give a good base for the roots to grow.
Some seeds need light to germinate. When you don’t pre-moistening the soil and then water this will mix the seeds into the soil and the seeds may not get the light they need to germinate.
Also, the seed starting mix is so dry that without pre-moistening it can take days for it to absorb the water.
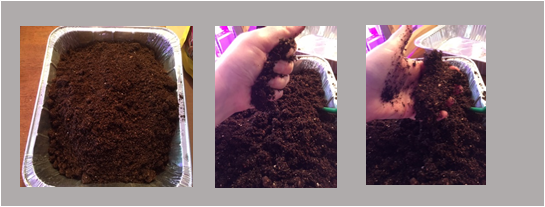
Pour your starting mix or coco coir into a large container. Mix in water till it is moist. It is moist enough when you squeeze it in your hand NO water drips.
Some gardeners recommend using boiling water to pre-moisten your starting mix. While the seed starting mix is sterile, it CAN contain fungus gnat eggs. The boiling water will kill these eggs. Mix boiling water into the starting mix. Just don’t use your hand to mix the soil, it’s hot. Let sit for at least 30 minutes to kill the eggs. Once it is cool enough to touch it is okay to start potting.
“Fungus gnats are small flies that infest soil, potting mix, other container media, and other sources of organic decomposition. Their larvae primarily feed on fungi and organic matter in soil, but also chew roots and can be a problem in greenhouses, nurseries, potted plants, and interior plantscapes. Adult fungus gnats may emerge from houseplants indoors and become a nuisance.” (University of California Agricultural and Natural Resource.)
It is not necessary to use boiling water to pre-moisten your soil. However, if you have a problem with fungus gnats, using the boiling water method MAY be for you.
Filling Your Containers
- Using your pre-moistened seed starting mix, fill your containers (plastic seed cells or peat moss pots) to the top. Again, choose the size of pot that works for you. If you don’t want to have to re-pot your seedlings, choose larger cells/pots.
- Press down the seed starting mix to form a good base for the roots to develop well.
- Fill your containers again. Brush off excess potting soil.
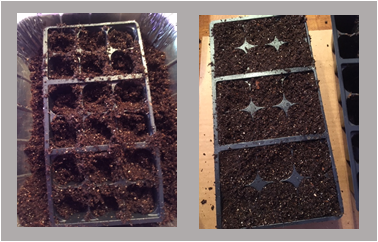
Sowing the Seed
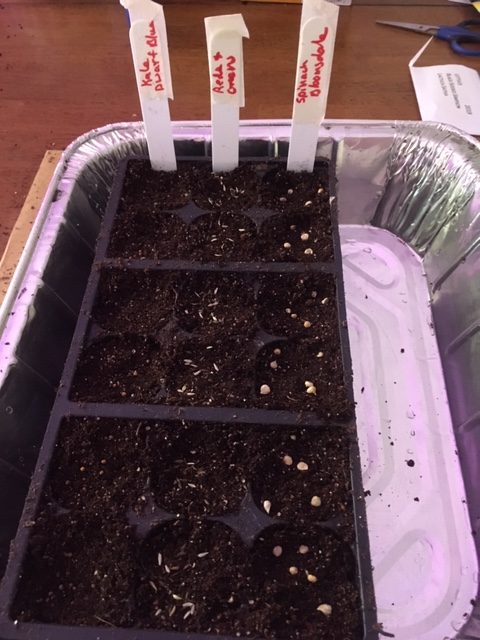
Note: For seeds that need light to germinate, sow on top of soil. Gently press down. To know what seeds need light, see Growing Tips.
Over-seeding method: The over-seeding method is not for every type of plant. It works great for loose leaf lettuces (where you just cut the leaves and leave the roots in the ground) and MOST herbs.
If you are planning to transplant your loose leaf lettuce, DO NOT use the over-seeding method.
- In your filled containers, take your seed and place 8-12 seeds per cell. Not all the seeds will germinate.
- If the seeds need light to germinate, gently press down seeds.
- If no light is need to germinate, mix seeds to a depth 1/4 to 1/2” or the recommended planting depth.
- Gently press down on soil and clean up the cells/pots.
- Label what you have planted.
Single seeding method: take 2-3 seeds and drop them in the cells/pots. You want 3 seeds because not all seeds will germinate and you don’t want to be waiting to see if one seed is going to germinate or not. Also, these will need to be thinned to the strongest seedling 7-10 days after germination.
- If the seeds need light to germinate, gently press down seeds.
- If no light is need to germinate, sow to a depth 1/4 to 1/2” or the recommended sowing depth. Move the soil from the corners of the cell/pot to cover the hole.
- Gently press down on soil and clean up the cells/pots.
- Label what you have planted.
Watering
It is best to bottom water your seedlings. This is why there needs to be holes in the bottom of your pots/cells. Place your pots/cells in the trays. Fill the trays about 1/3 of the way up with just water (nothing is added to this water). After about 30-45 minuets, pour out whatever is not absorbed.
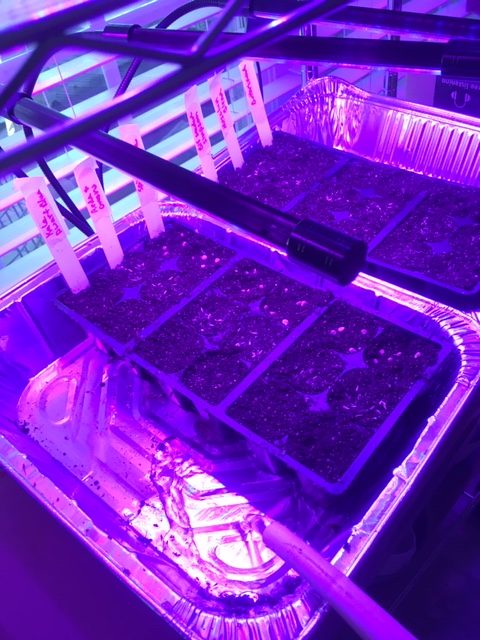
Why bottom water?
- It saves time.
- It keeps splashing from occurring. Splashing can spread disease, wash seeds out of cells, and create a mess to clean up.
When do you water?
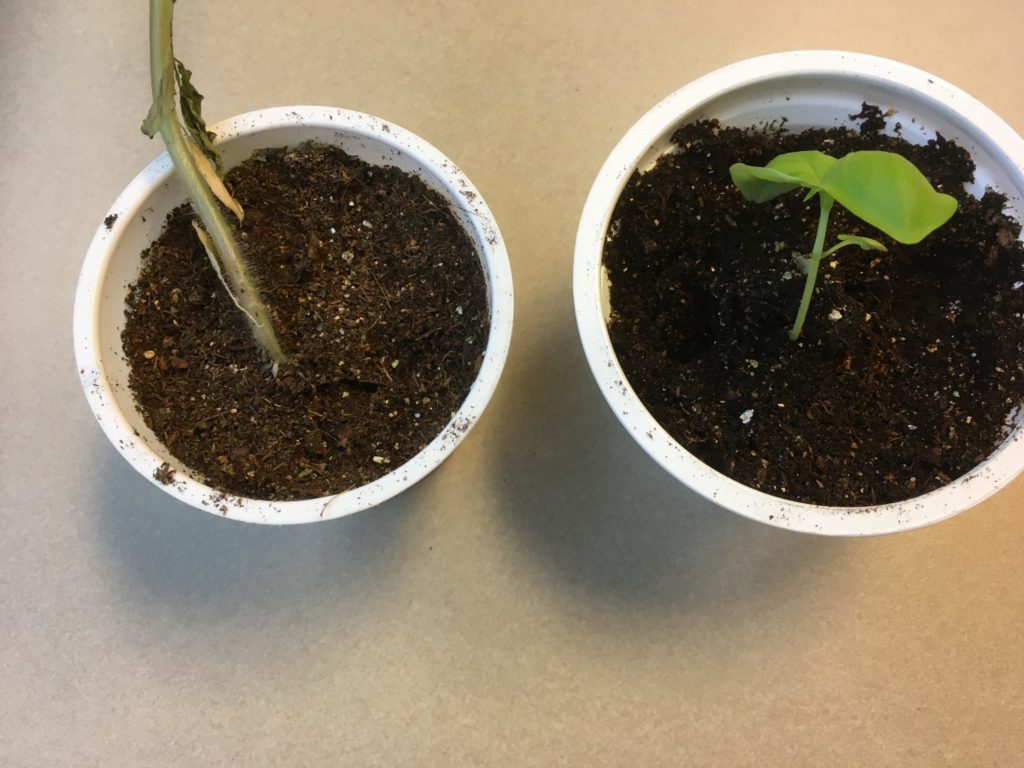
Look at the difference in color in the soil. One is light brown. The other is dark. When the soil is light brown, it is time to water. You can also to a feel test. Touch the soil. If it feels moist, don’t water.
Fertilizing
What kind of fertilizer to use?
- Any water soluble fertilizer will work. You want water soluble as the nutrients will be immediately available for the plants to take up.
- You do NOT want granular fertilizer. This is designed to breakdown over time in the soil.
- Unless you get a very light fertilizer in the 5-5-5 range. Dilute fertilizer to 1/4 to 1/2 strength before applying to the seedlings. Diliution is important so you don’t burn the seedlings with fertilizer that is designed for mature plants.
When to you fertilize?
- Wait to fertilize until after the true leaves have formed.
- True leaves look like the leaves of whatever the plant is.
- Tomato true leaves will look like tomato leaves.
- Pepper true leaves will look like pepper leaves.
- You get the idea.
- After true leaves have formed, fertilize about every 7-10 days.
How to get More BANG for your Buck!
Use the over-seeding method for herbs. Start with the small cells (usually comes in a six pack). When the herbs are ‘big enough’. Take them out and split them down the middle and re-pot into larger containers. Now instead of 6 plants you have 12. You can even do this process 1 more time and have 24 plants.
Herbs are ‘big enough’ when they are as tall as the cell is deep.
